Step-by-step guide to Design MakerUpdated 6 months ago
Process Overview
Step 1. Upload and edit image
Step 2. Adjust scaling for each size
Step 3. Review final design
Note: The design maker is currently available for selected styles including classic fit sweater, relaxed fit sweater, short-sleeve sweater, women straight bottom sweater, cardigan and v-neck vest.
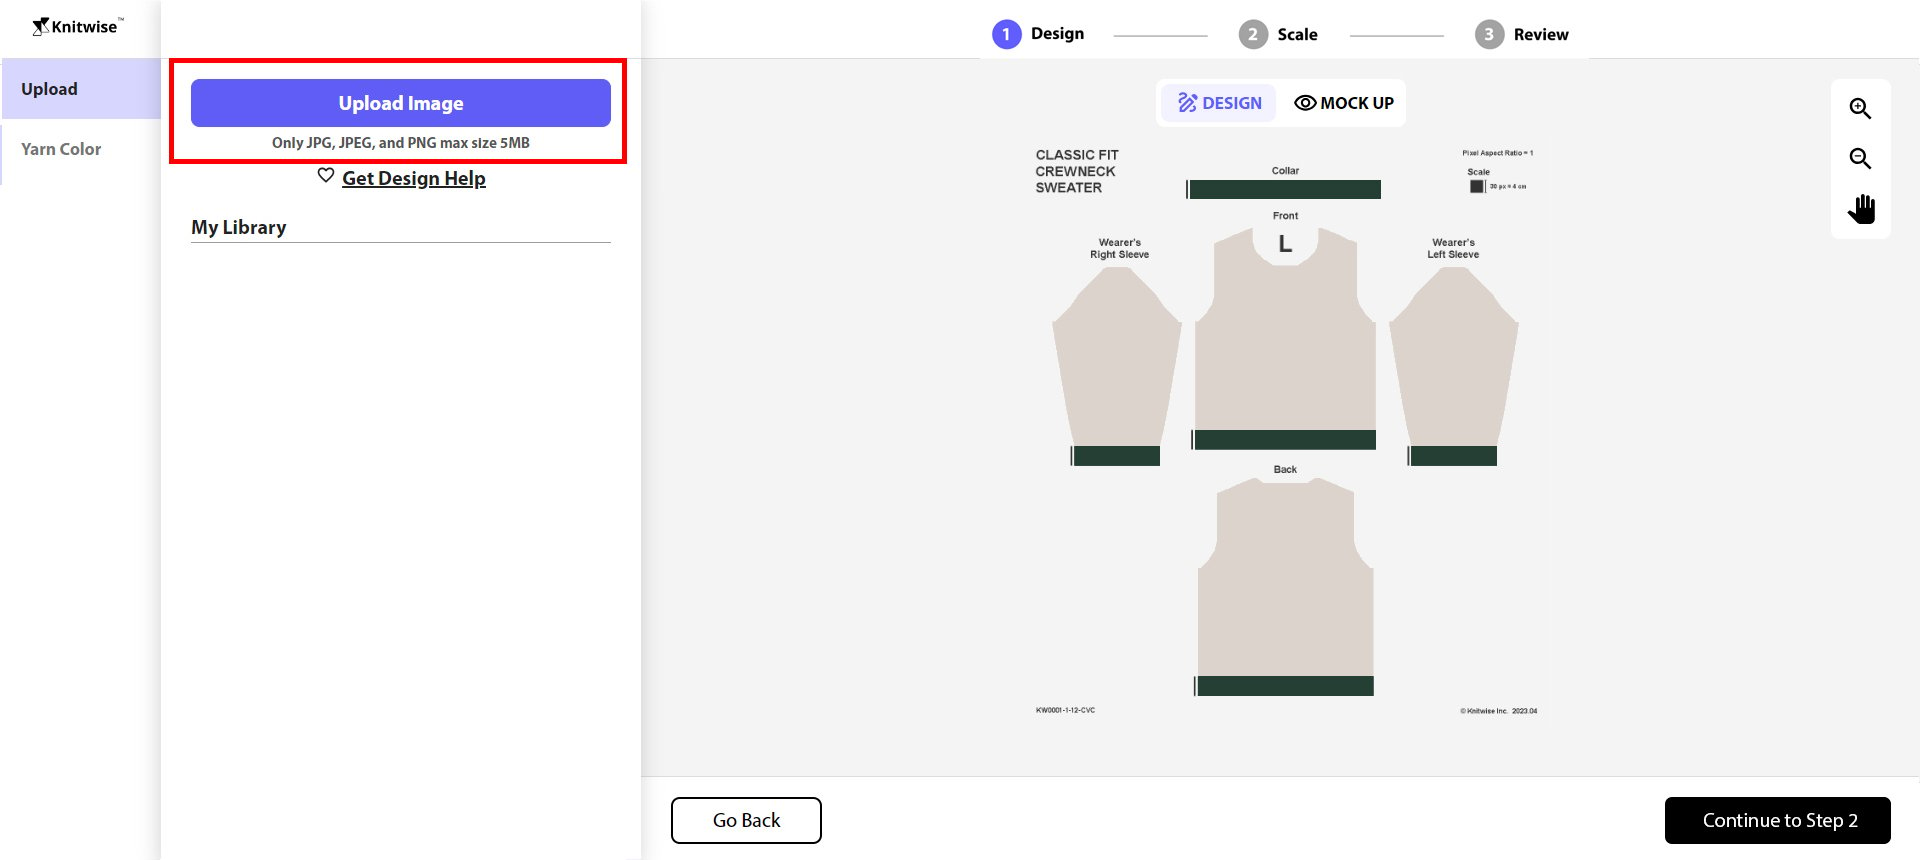
Step 1. Upload and edit image
Click the "Upload Image" button in the "Upload" panel, and select the image from your files. You will be able to upload as many images as you want.
*Formats allowed are JPG, JPEG, and PNG. The file size must not exceed 5MB.
After uploading, the image appears centered in the template.
Click and drag from the edges of the image to adjust the scale, and from the center to adjust the position.
Repeat the process with any other images you upload.
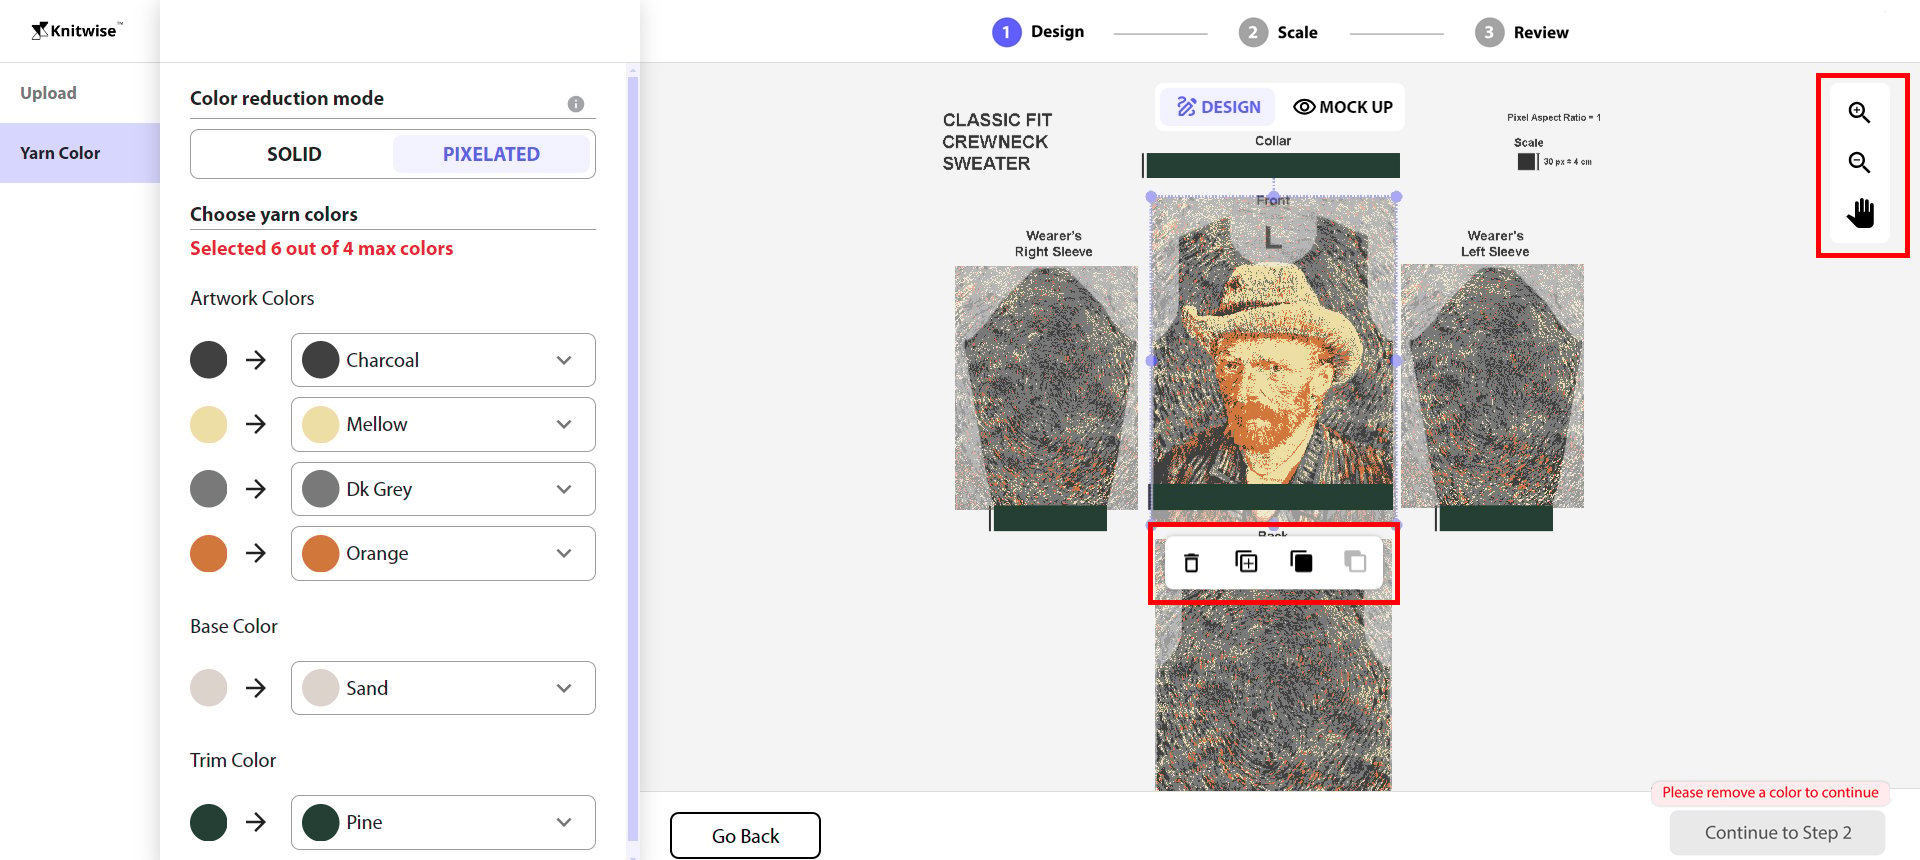
Use the Zoom In and Out tool to work closely on your design and the Hand tool to move around the canvas.
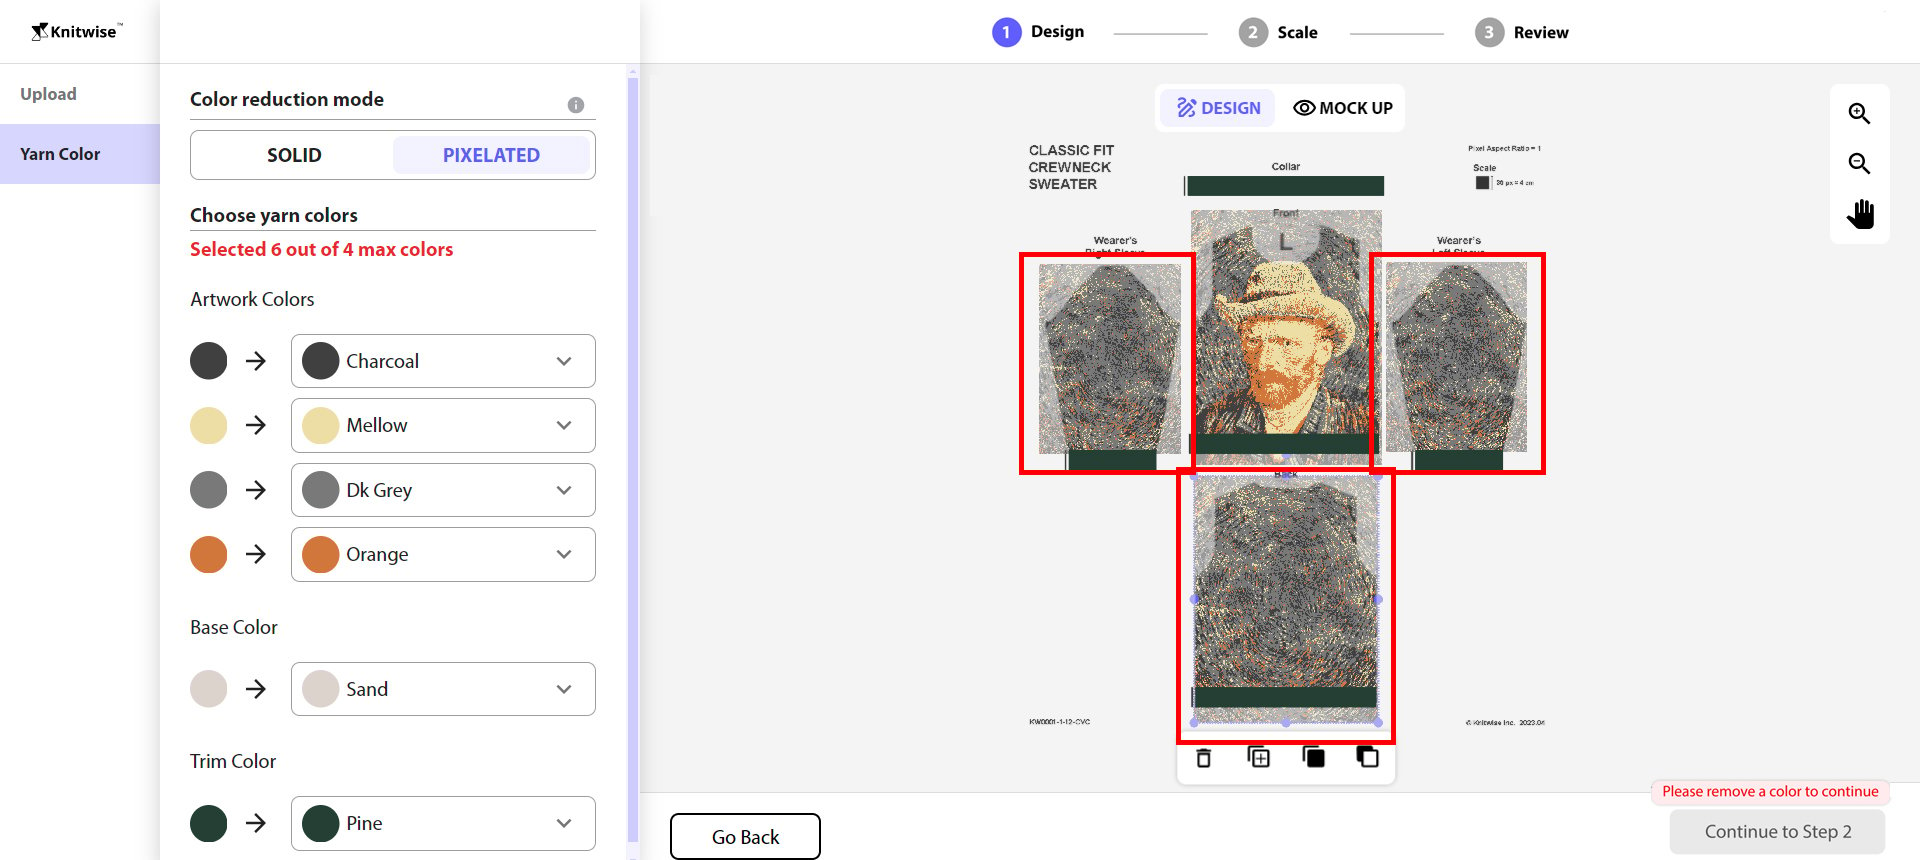
Use the image's quick tools to Delete, Duplicate, Move Forward, and Backward.
Click the "Mock Up" button to witness your design materialize in a dynamic 3D perspective.
Navigate the mockup by rotating it 360º to check every detail and placement of your design across the panels.
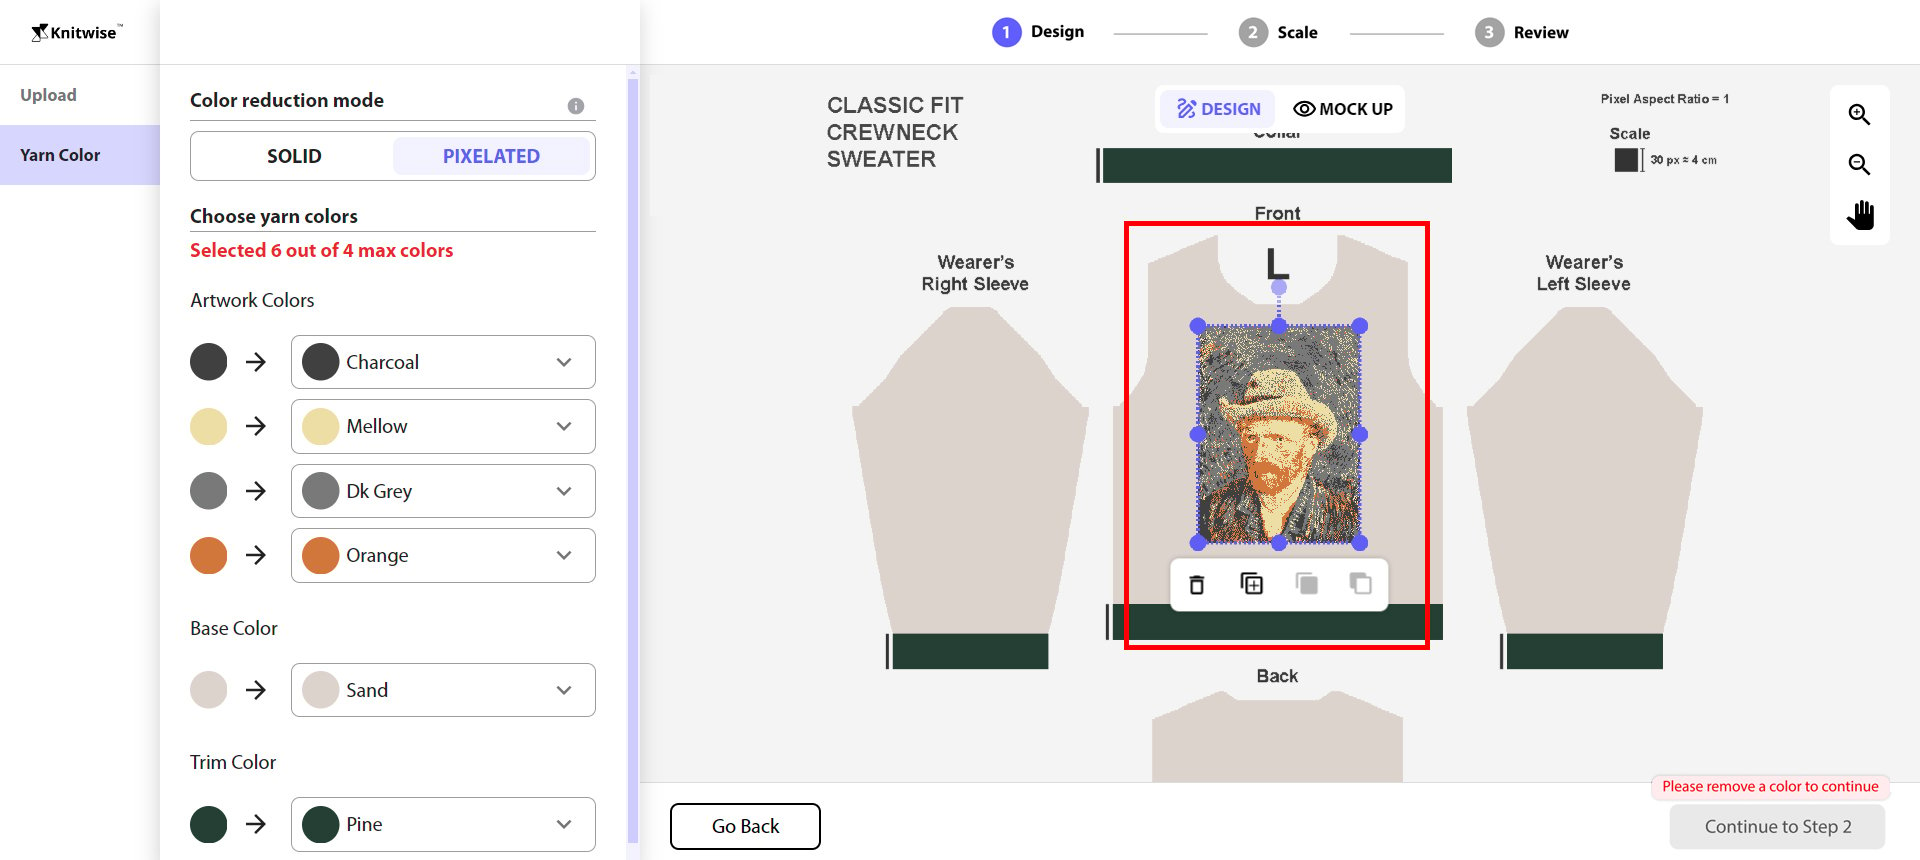
The uploaded image is auto-reduced to a maximum of 4 colors, matched with our Knitwise Color Palette.
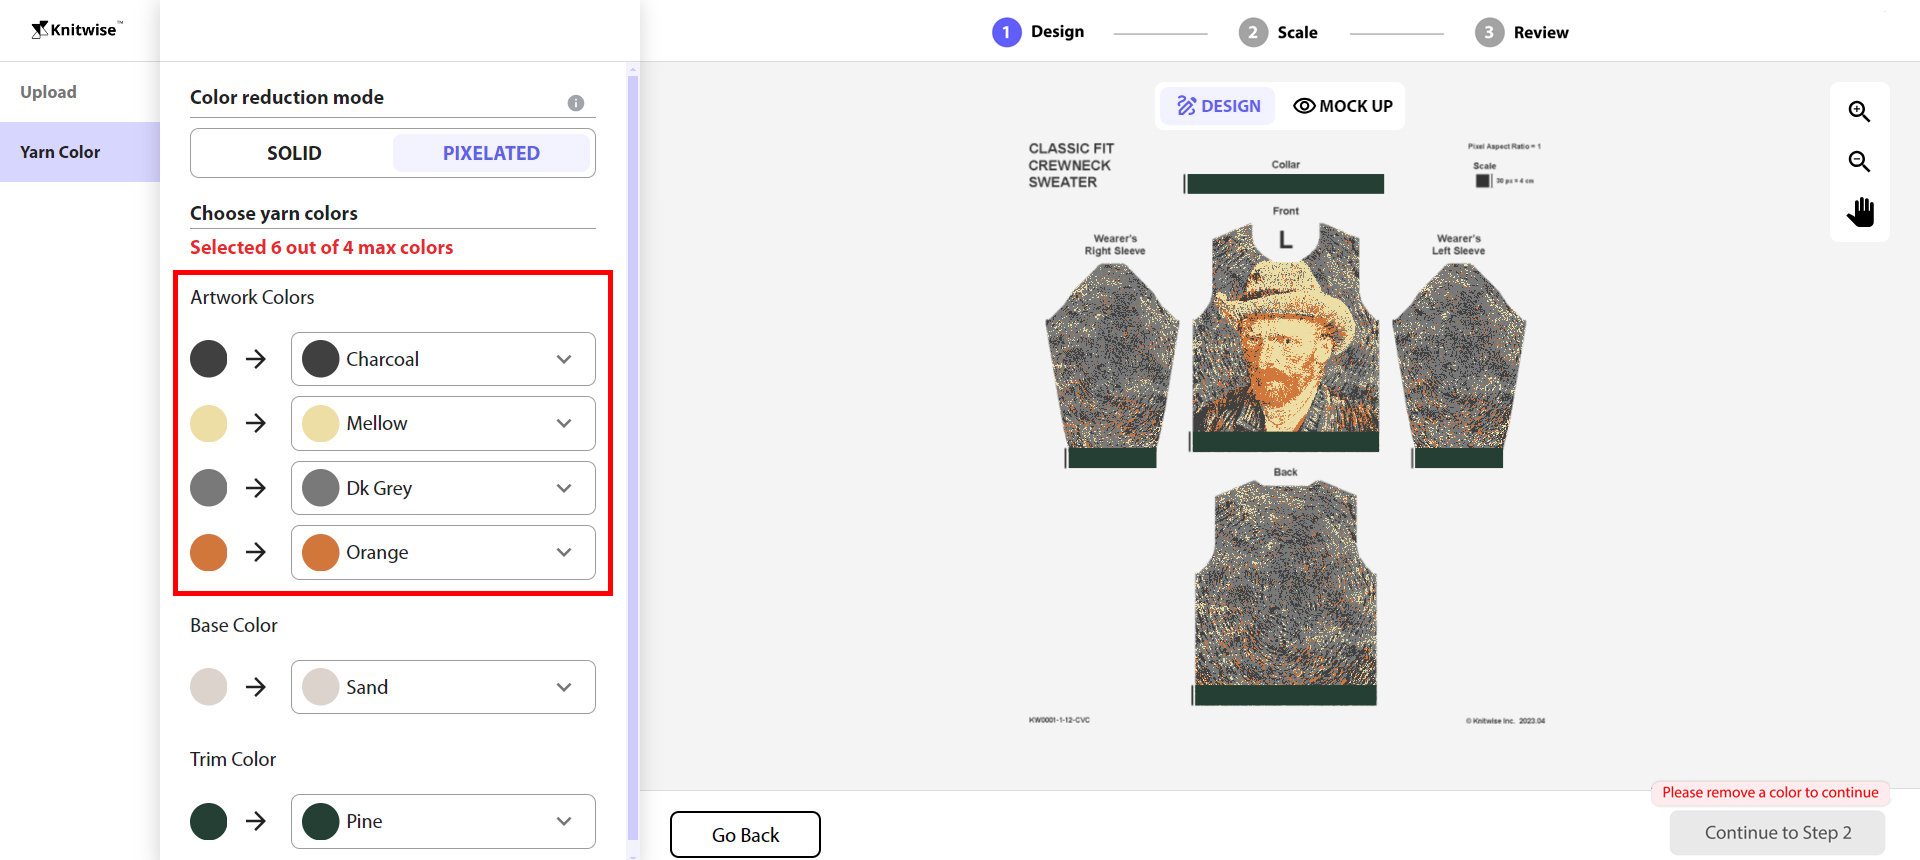
Modify the artwork colors to your desire and select a color for the Base and Trim without exceeding the maximum of 4 colors.
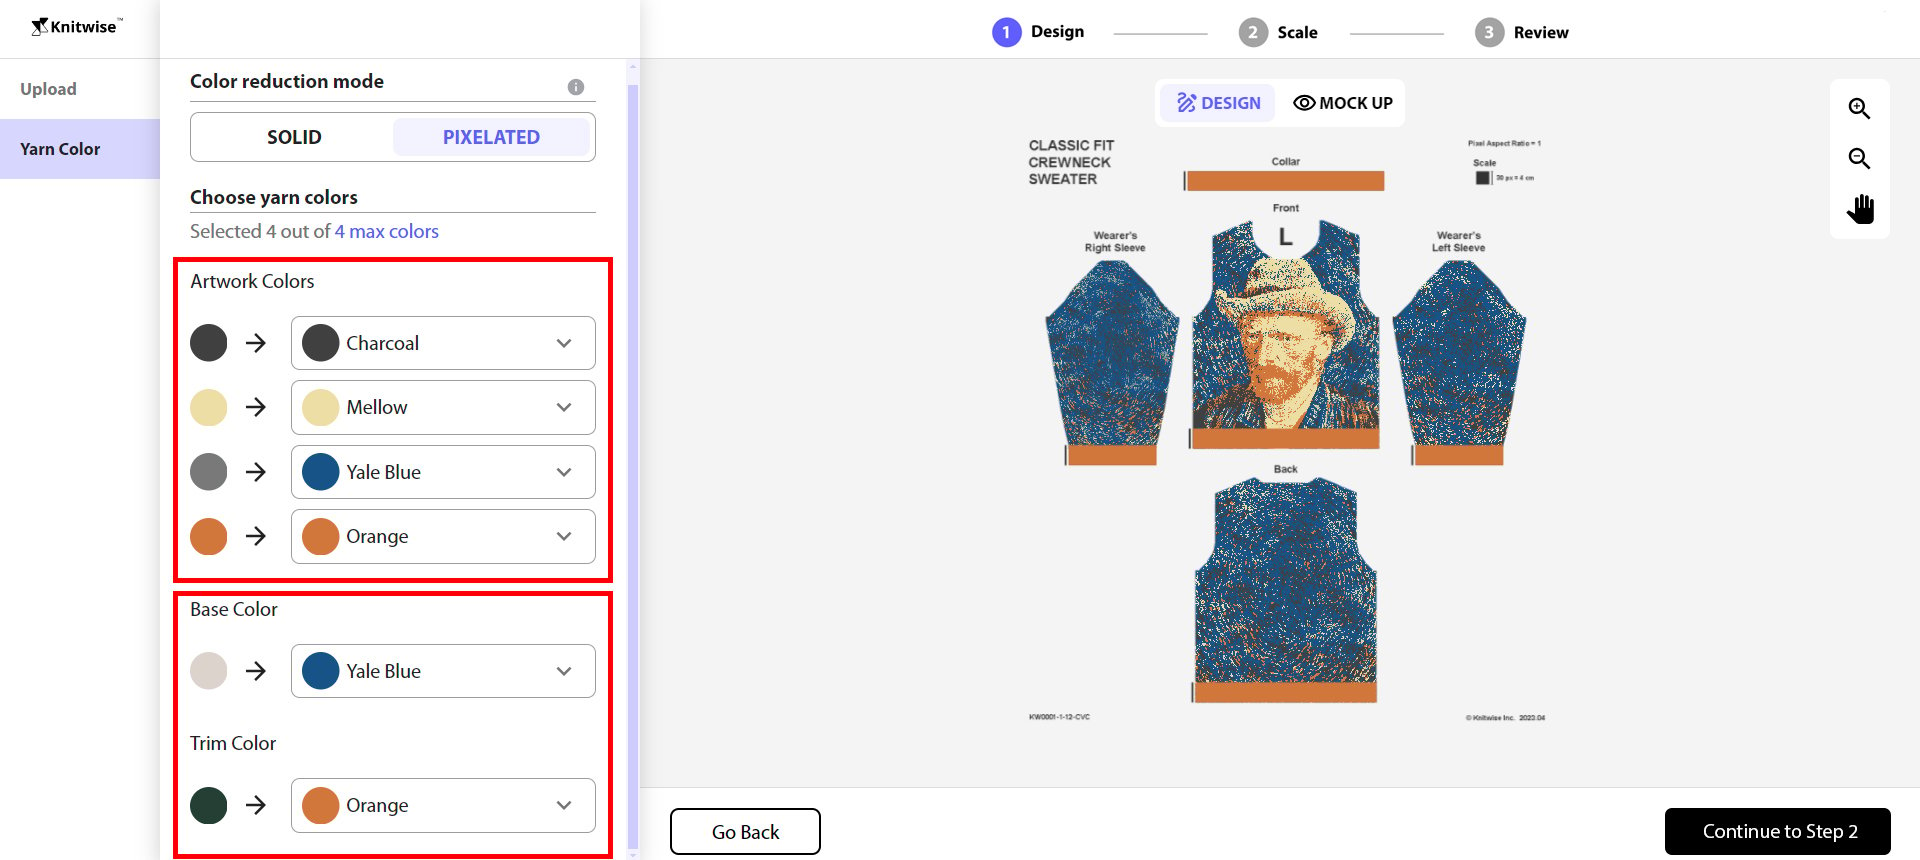
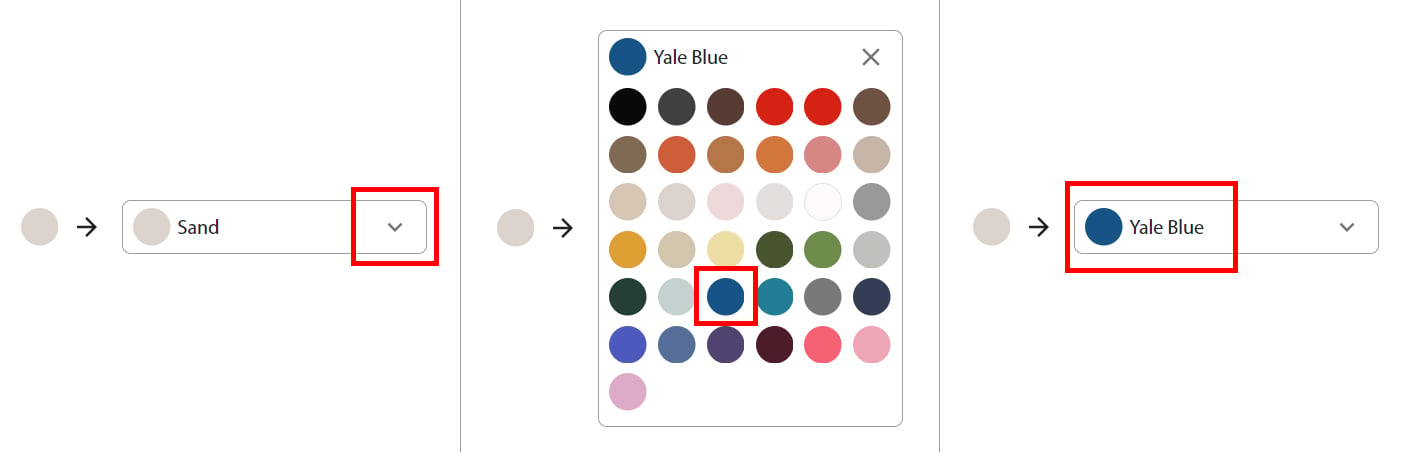
To change a color, click on the arrow next to the color name to open the palette and select another one.
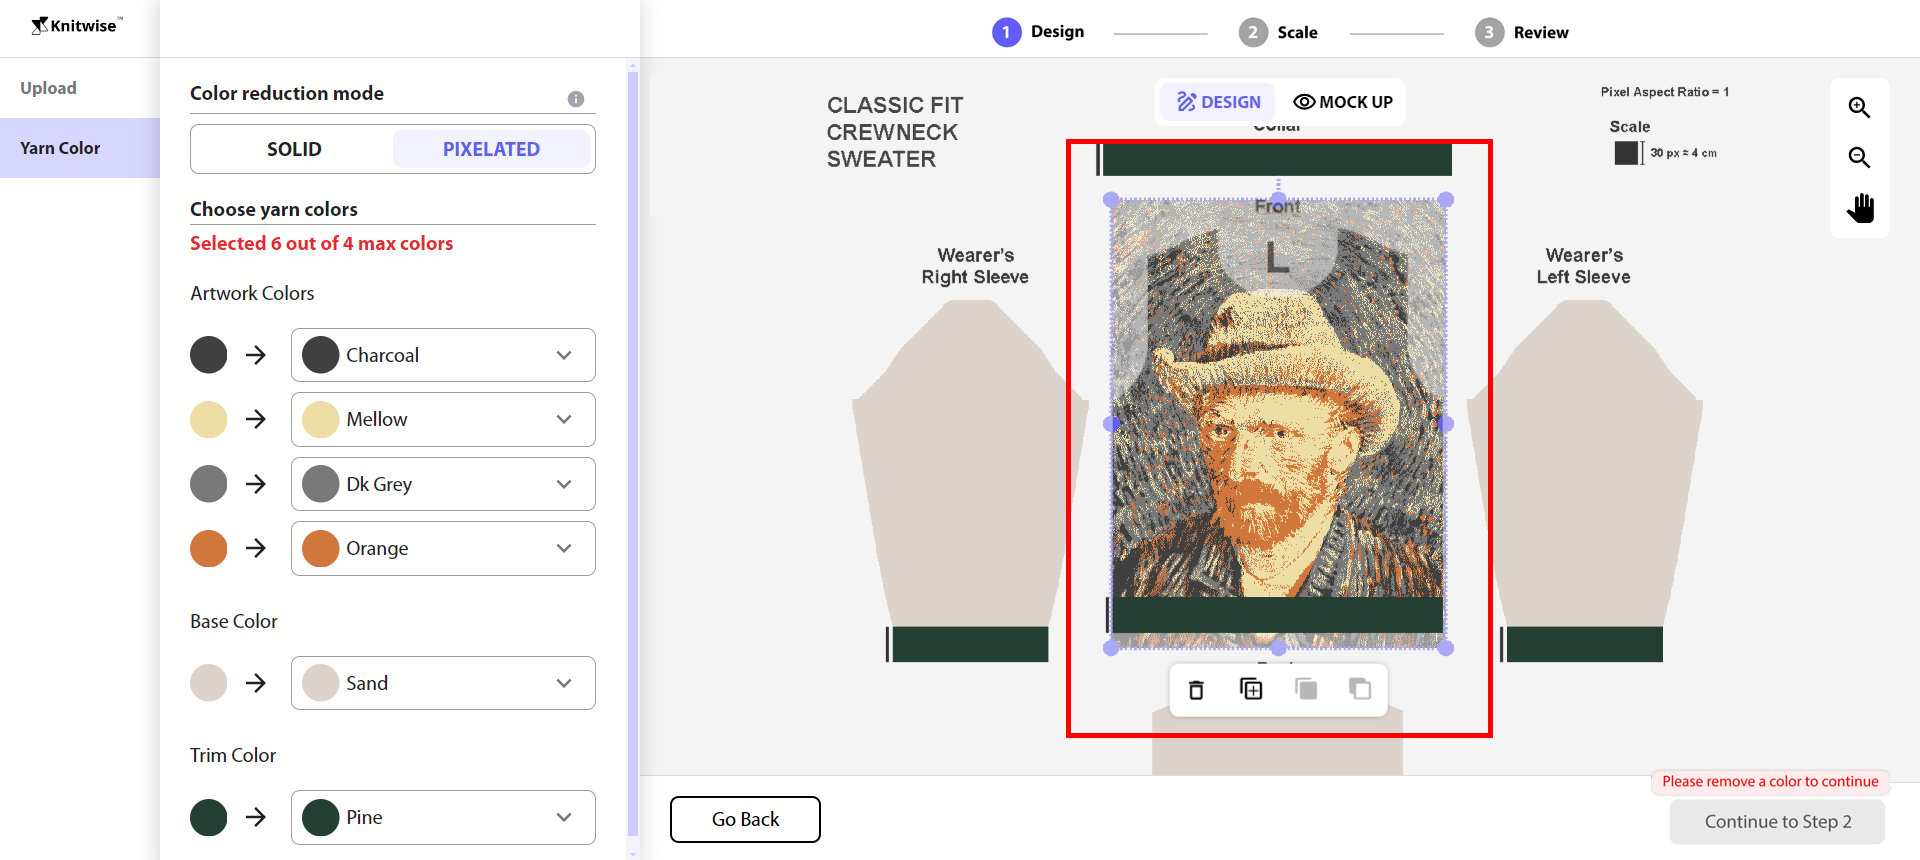
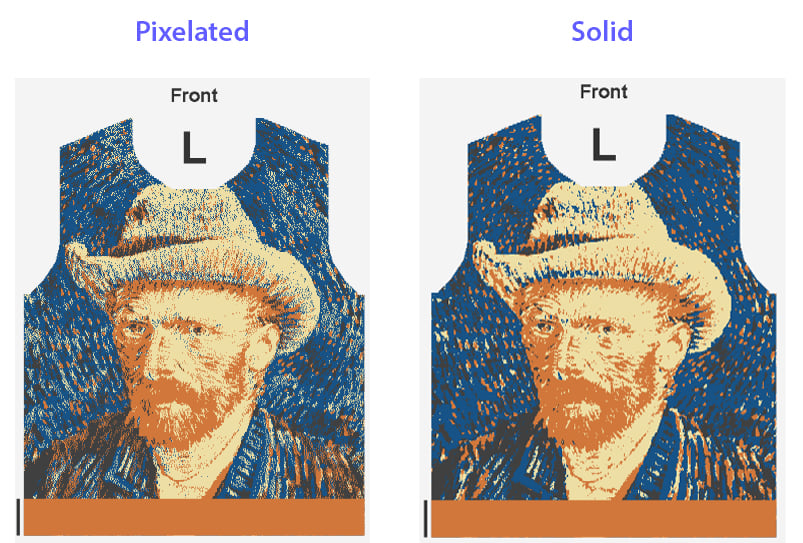
Try the two options for color reduction mode: Pixelated and Solid.
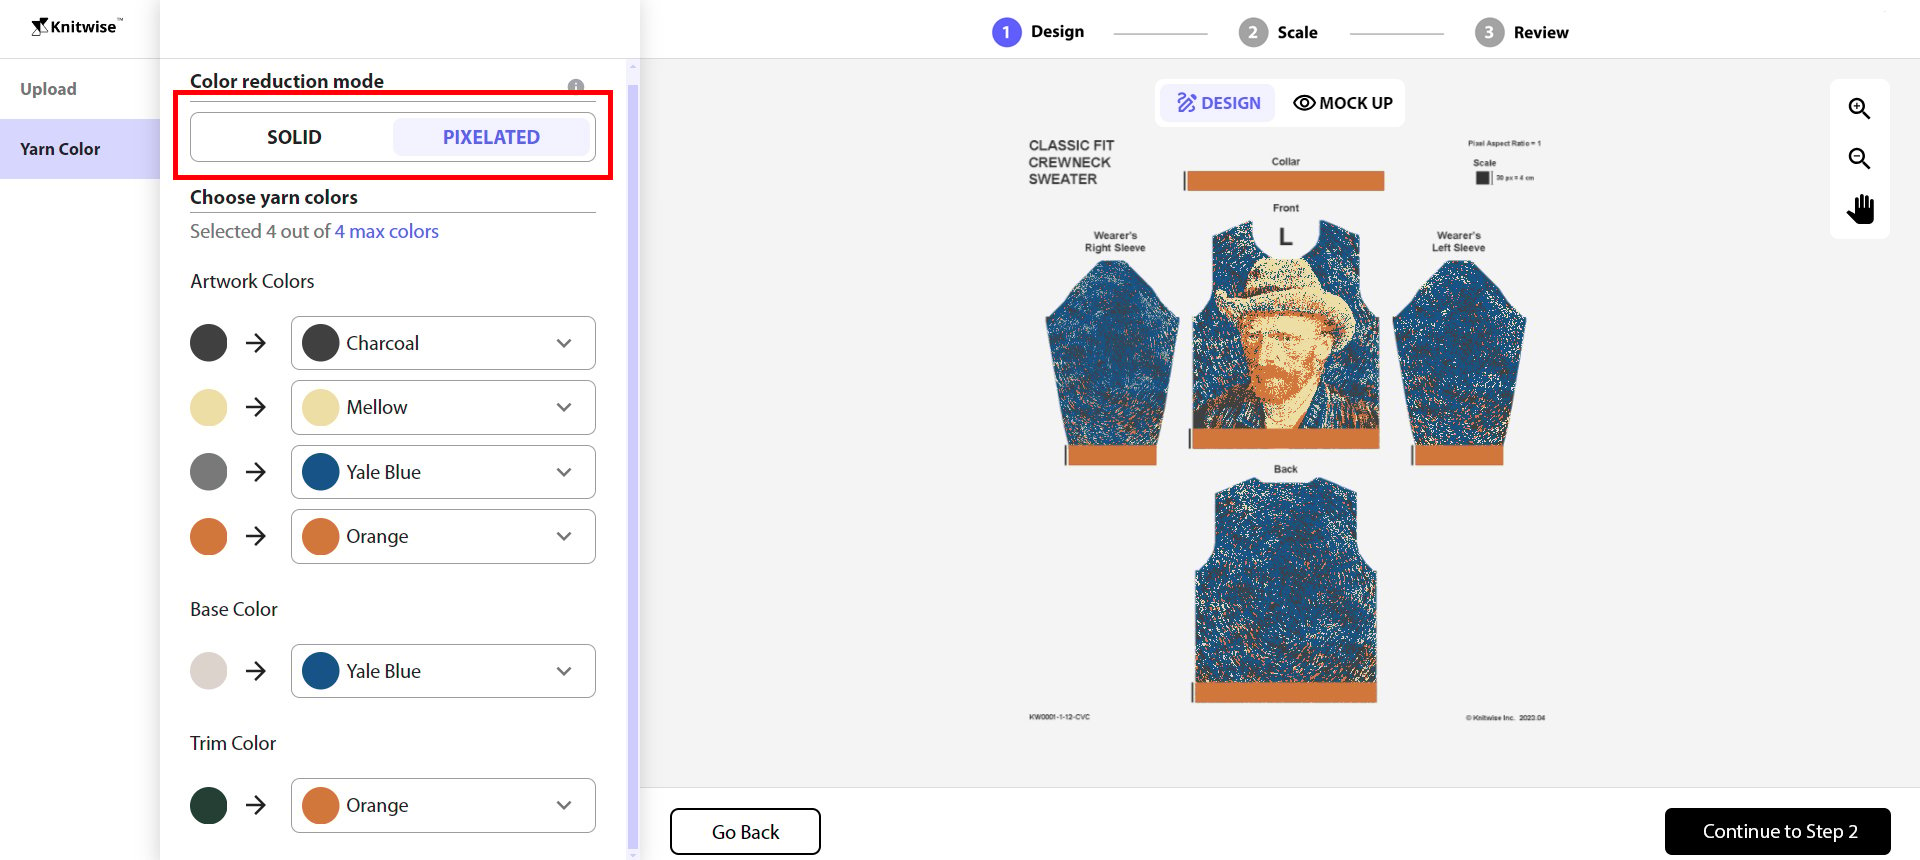
Choose Pixelated to achieve halftones created by a diverse mix of color pixels.
Choose Solid for clearer color separation in the image.
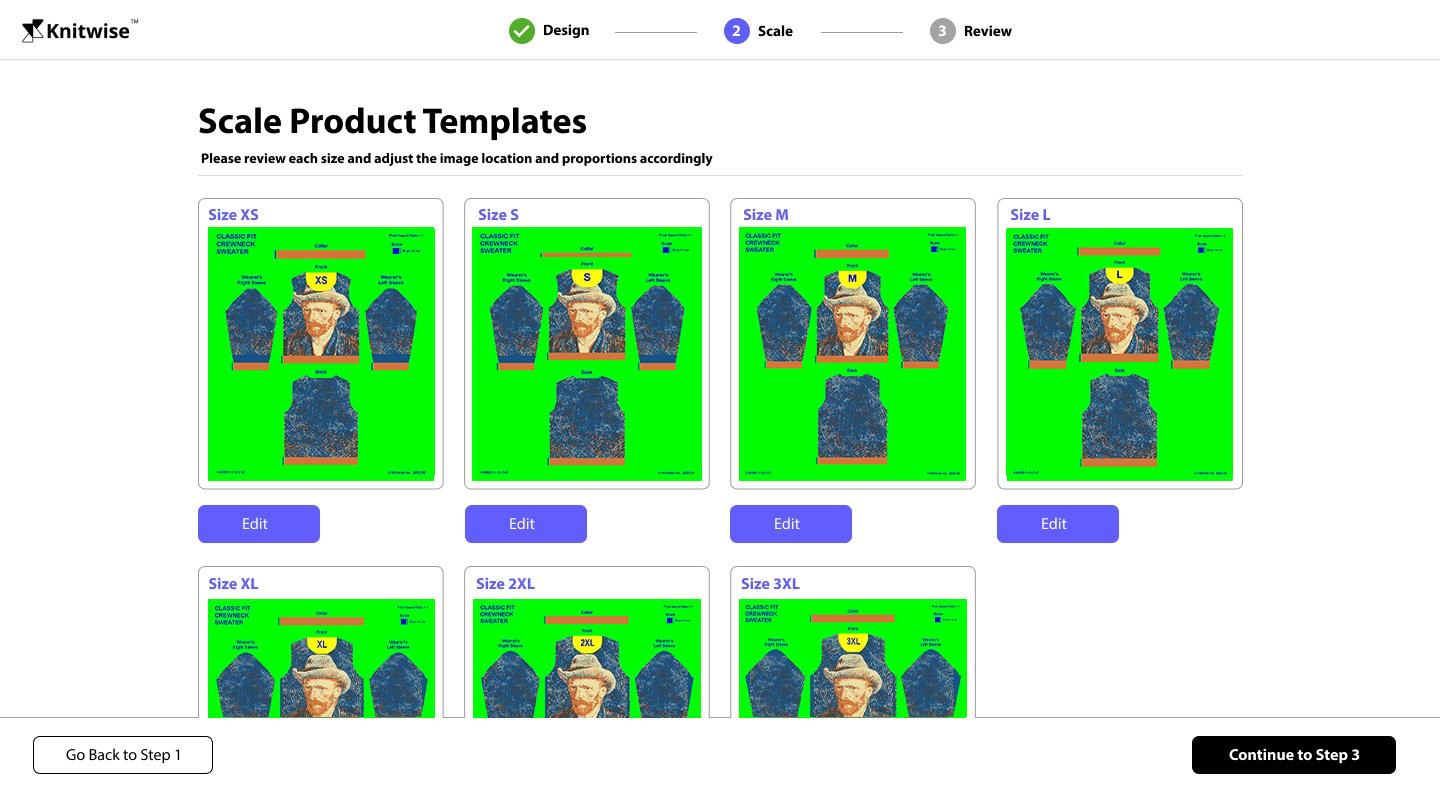
Step 2. Adjust scaling for each size
Click on "Continue to Step 2" to navigate to the "Scale" step to review and refine your design across different sizes, automatically scaled for you.
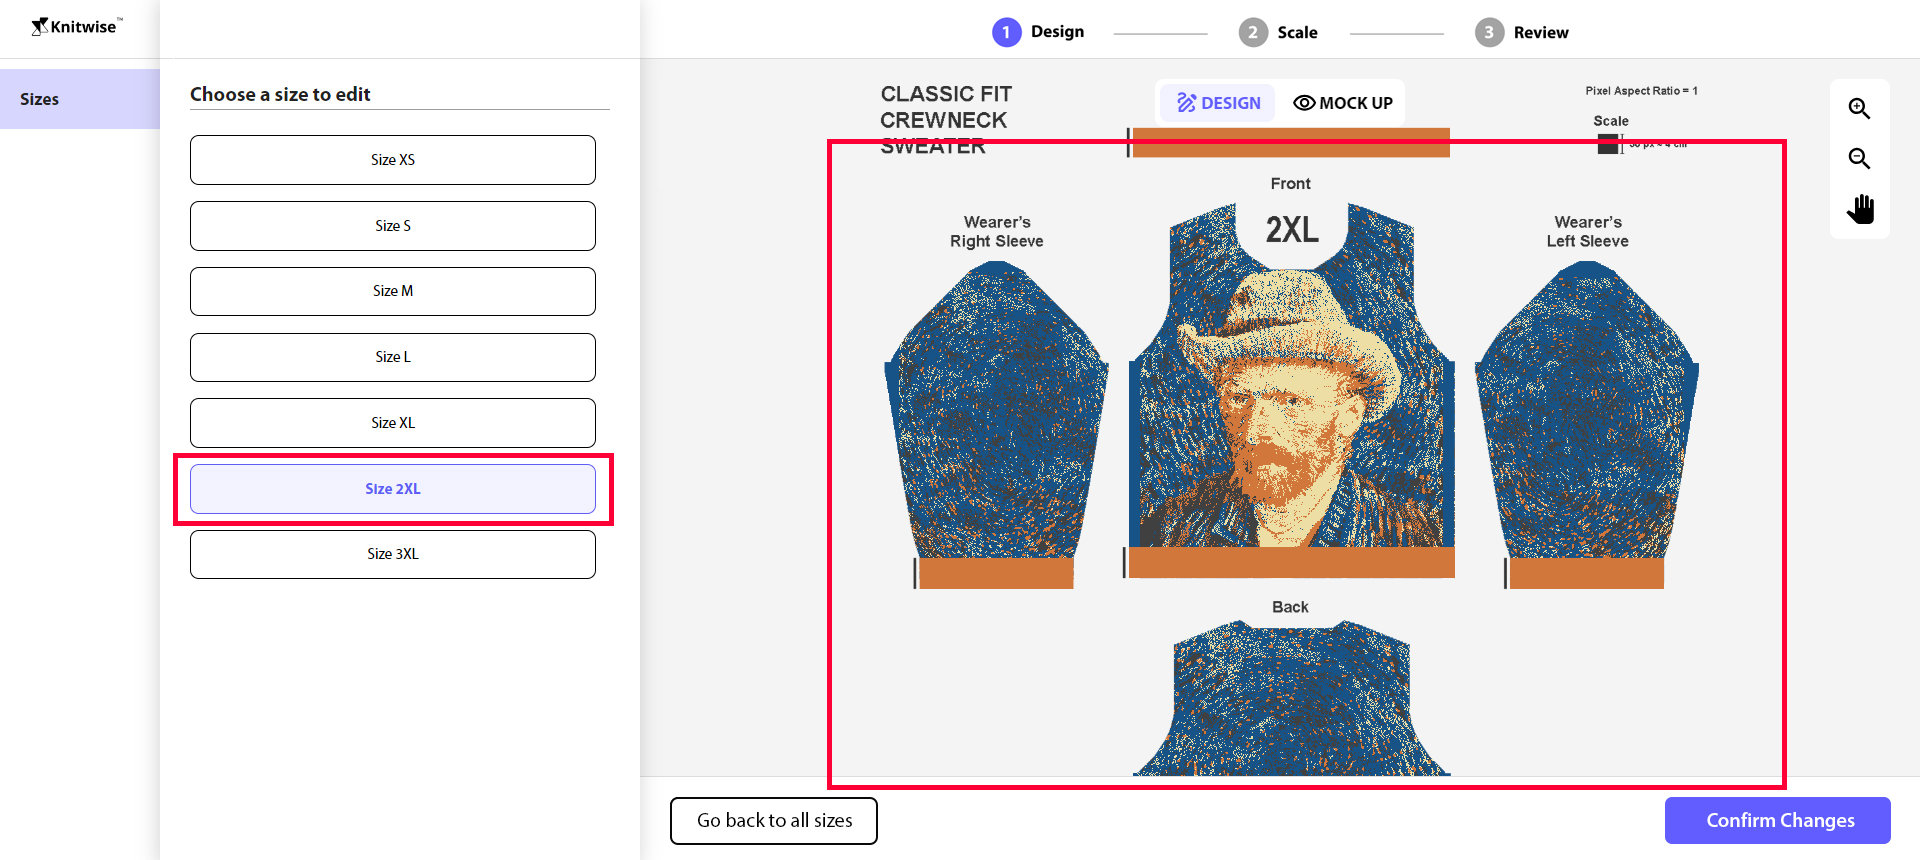
Click on the "Edit" button of a size, such as 2XL, and observe your design in the corresponding template on the Design interface.
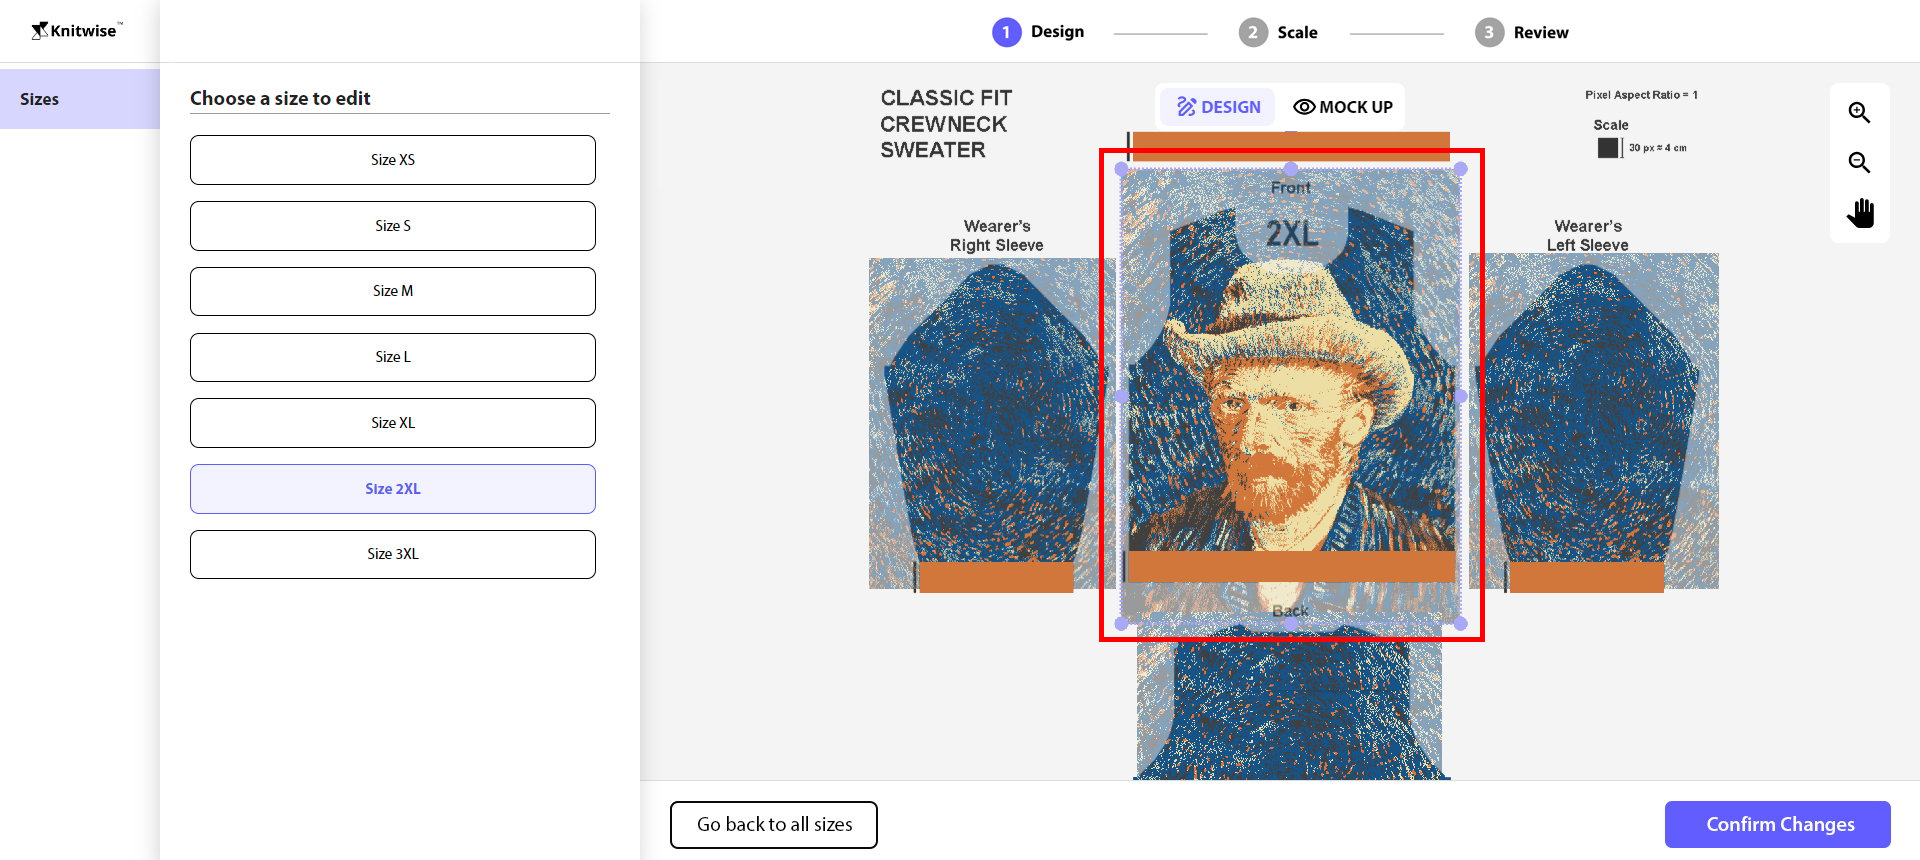
Use click-and-drag from the edges to adjust scaling or from the center to reposition if needed.
In this case, we adjusted the image scale to cover the entire panel.
Make sure you check all sizes to identify and address any necessary adjustments and click on "Confirm changes" to save the progress.
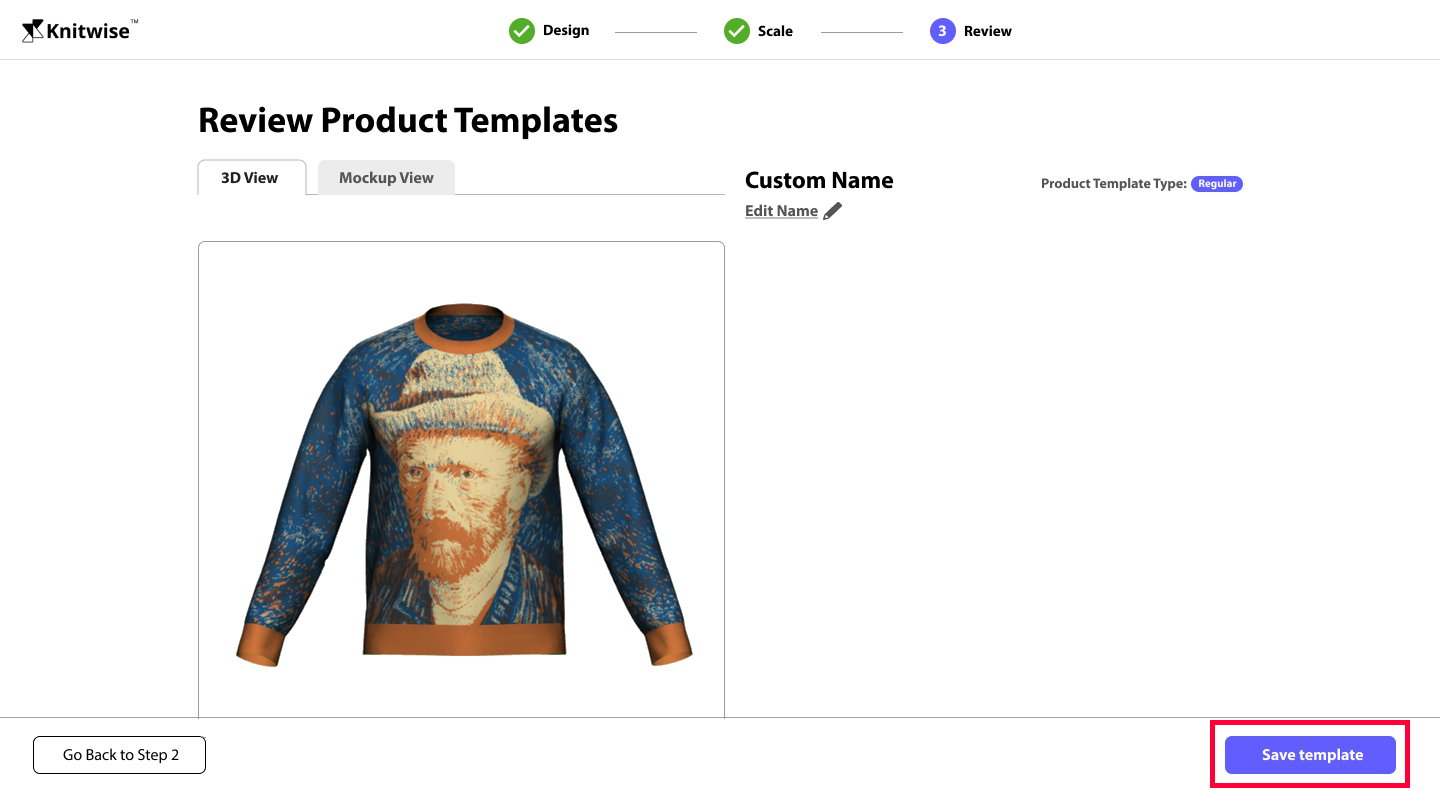
Step 3. Review final design
After confirming the adjustments, click on the "Continue to Step 3" button to navigate to the "Review" step.
Do a final review of your design mockup and click on the "Save template" button to save your product design.