Step 1: Design using the Knitwise templateUpdated 7 months ago
Before beginning the design instructions, click here to view the guidelines for creating a product template in our app, downloading the template files, and uploading your design files upon completion.
Here are two common methods for designing our templates.
Choose the instruction that matches your design approach:
- Method 1: Design by transferring images
- Method 2: Design from scratch using pixel-by-pixel drawing
Note: Before you begin designing, ensure you've installed the Knitwise Color Palette. If not, follow the installation steps here. Also, check out our Template Rules and Knitting Design Fundamentals for essential design insights.
Method 1: Design by transferring images
In this section, you will learn how to create a design by transferring an image to a Knitwise template.
Note: Keep in mind that our product only supports up to 4 colors in the design. While working with our template, it's best to avoid using images with many very different colors. Please read more in Step 1 Understand design best practices.
Here is a tutorial video to follow. The tutorial uses the sweater template as an example.
You can also follow step by step below as you watch the video tutorial:
1. Transfer your art onto the template:
- Open the image you want to transfer, select all the content, and copy it (Select / All, then Edit / Copy).
- Go to the window with the Knitwise template.
- Click once on the "Background" layer to select it.
- Paste the previously copied content (Edit / Paste). The content should now appear in a new layer above the Background layer.
Note: Please do not drag and drop your image from your files directly to the template. It will be automatically placed as a Smart Object and this will affect your indexation process later on. - Scale and move the copied image until you like your design. Make sure “Interpolation” is set to “Bilinear” in the toolbar when doing this:

- Click the checkmark symbol in the tool panel when finished.

2. Convert image to Smart Object:
- Convert the layer with the copied image into a Smart object by right-clicking on the layer (on the layers panel) and then selecting "Convert to Smart Object" from the options displayed. The layer should now have an icon indicating it’s now converted to a Smart object.

- Open the Smart Object by double-clicking on the layer’s icon and a window containing only the image will open for further editing.
3. Index colors:
On the smart object window:
- Convert the image to Index mode by going to "Image > Mode > Indexed Color". This will open the Indexed Color dialog box.
- In the Indexed Color dialog box, set the ”Palette” option to "Local (Selective)".
- Insert the number of colors you want to index your image in the “Colors” field. In this example, we insert “4”. You can select less colors than 4 but not more. Remember the maximum of colors allowed for our design is 4.
- Set the "Forced" option, to "Custom”. At this moment, another pop-up dialog box will show, making you able to pick the Knitwise color palette you think will look great on your image one by one. Make sure you select the same quantity of colors you determined in the option above.
- Make sure the "Transparency" checkbox is unchecked unless your image is PNG and you want to keep no background.*
*If you are using a PNG image and want to keep a transparent background of your image instead of white background, check the transparency box and you will see one color swatch (The transparency swatch) will be added to your total. This swatch doesn’t count as an actual color. So don’t worry if your total is 5 colors in this case, and your design only contains 4. It won't affect the 4-color limitation rule. - Set the "Matte" option to "None".
- Set the ”Dither” option to “Pattern”.
- When you are done with the settings click “OK” to confirm the Indexed Color settings.
- Save the changes you’ve made on the Smart Object by clicking File > Save.
Recommendation: Pixel Color Correction
After indexing your image in the Design Template, you'll notice the colors are distributed across the pixels. Sometimes, this may not align with your desired outcome. In such cases, inspect closely, zoom in, and manually correct color pixels as needed.
Refer to the provided tutorial and follow the steps for pixel color correction if needed:
- Once the indexing process is done, enlarge your view to see if any colors are misaligned based on your predefined criteria.
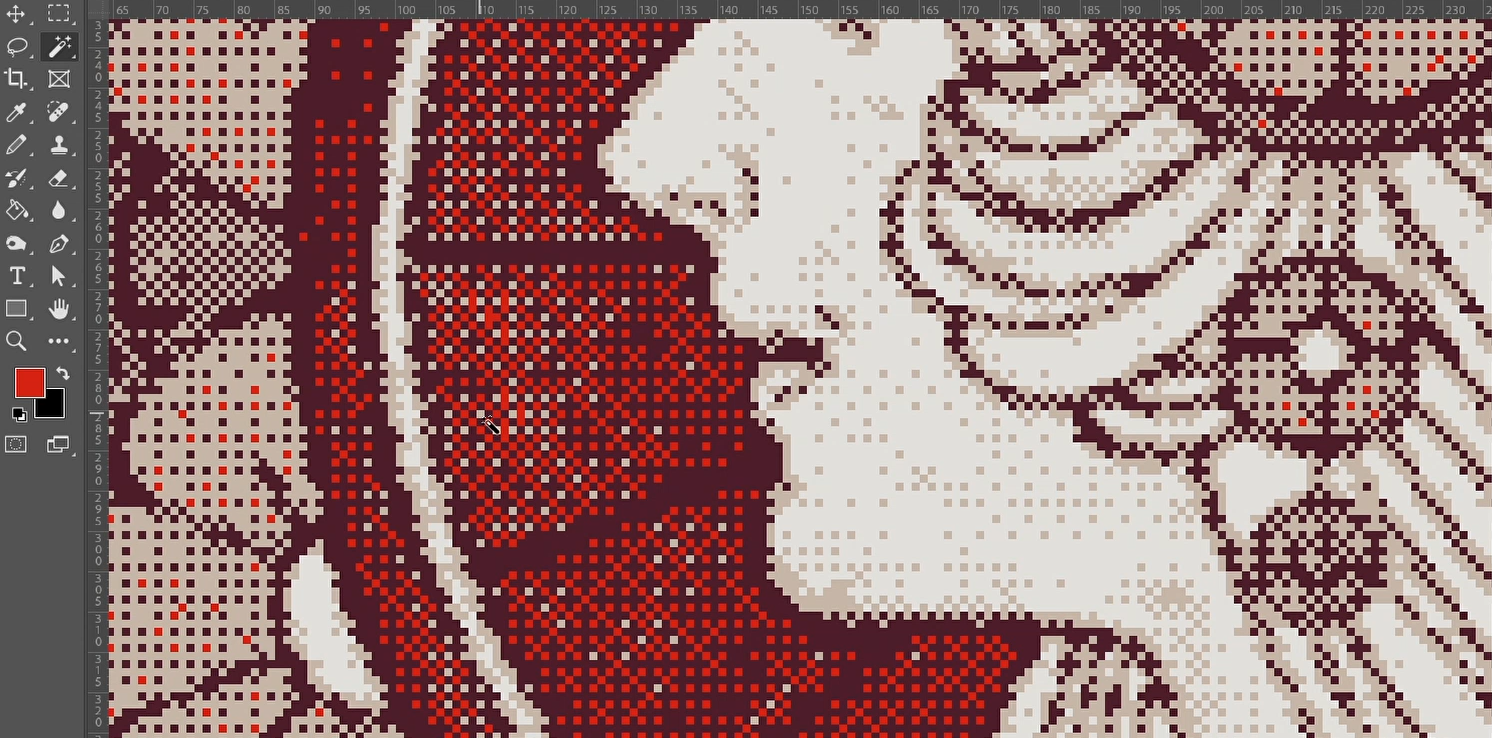
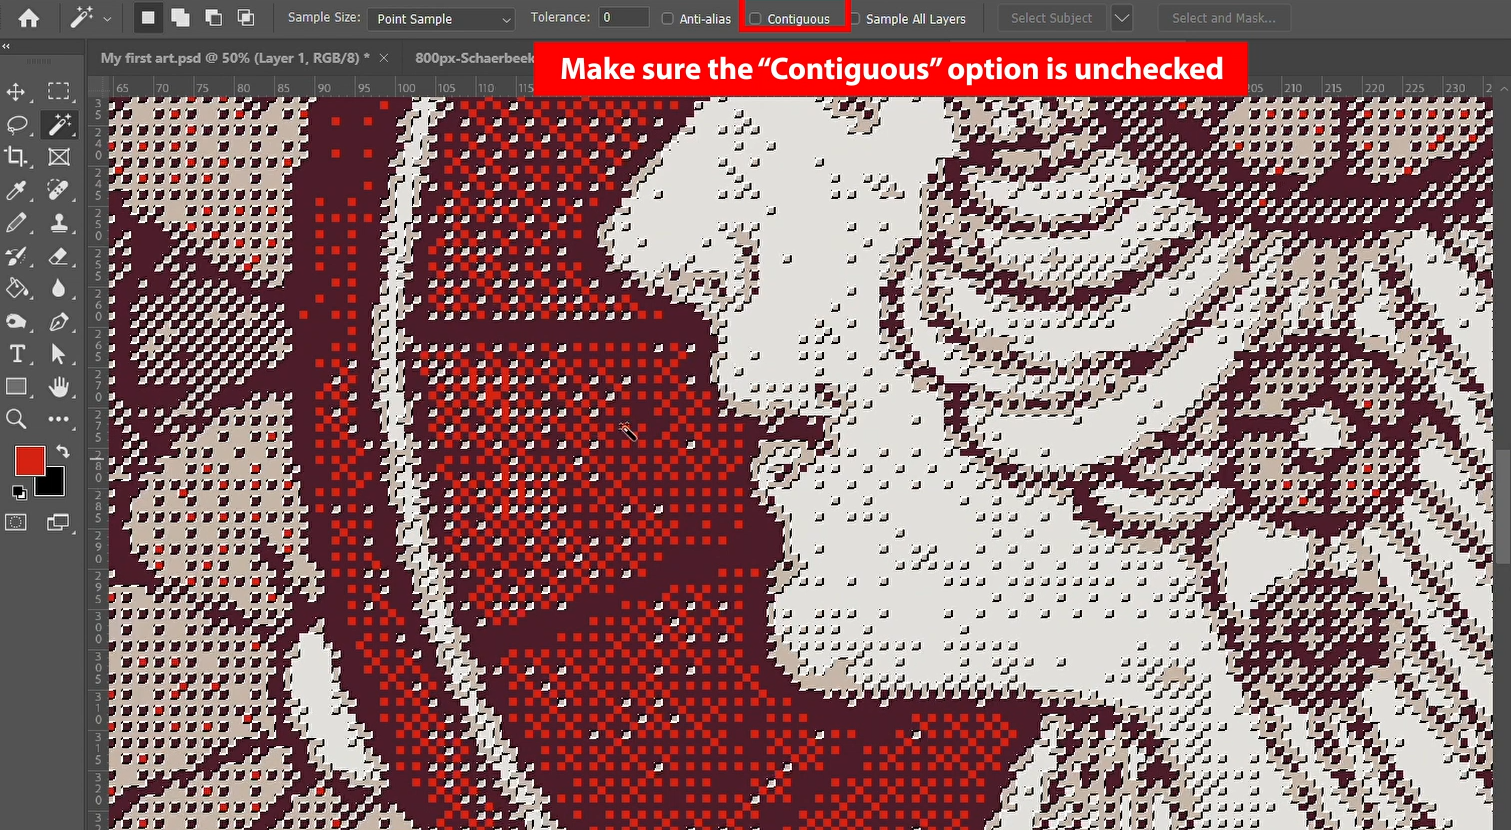
- Utilize the "Wound Tool" by selecting it and then clicking on the color area you wish to substitute. Make sure the “Contiguous” option is unchecked.
- Transition to the "Pencil Tool" and pick another color existing on your design.
- Apply the newly chosen color to the specific portions requiring correction by drawing over them.
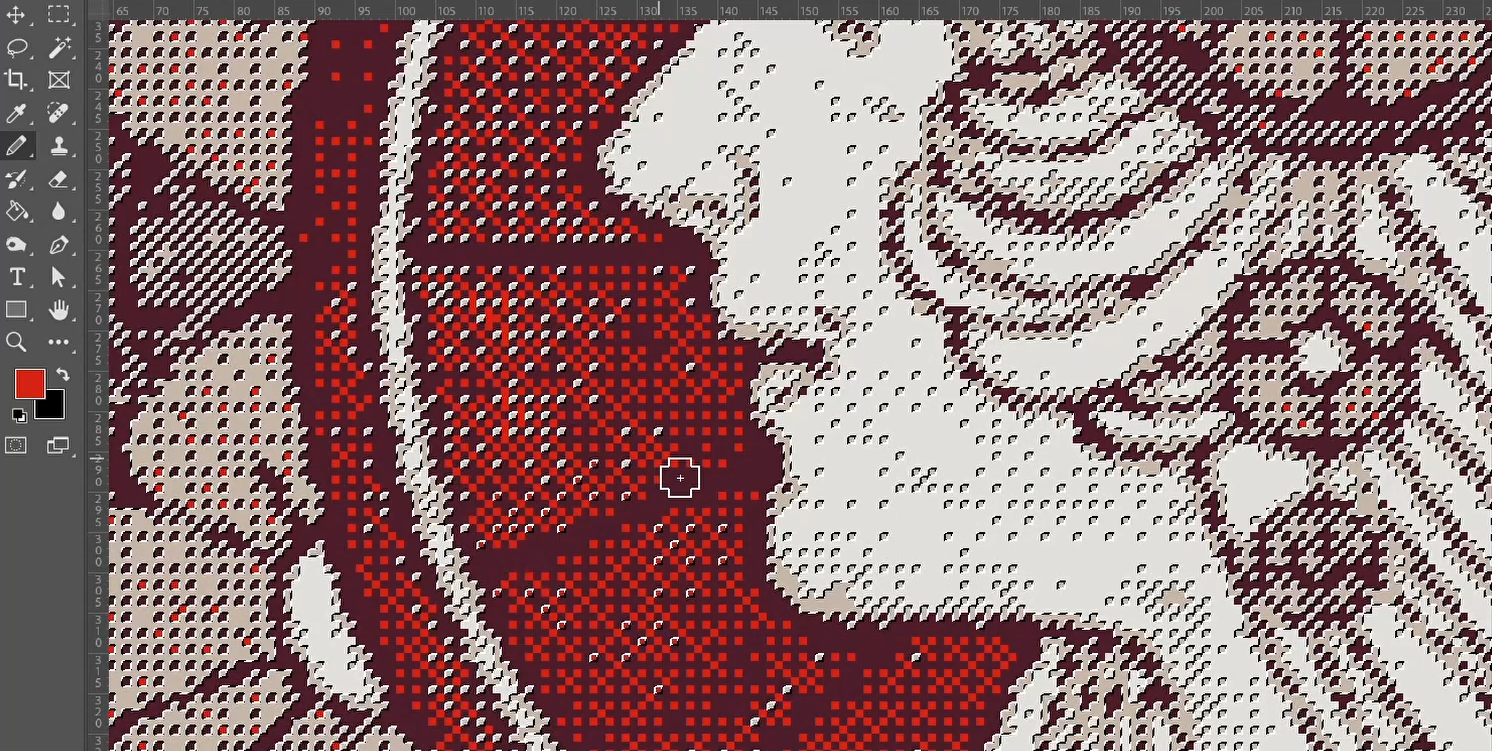
- Deselect and look how the color pixels have changed.
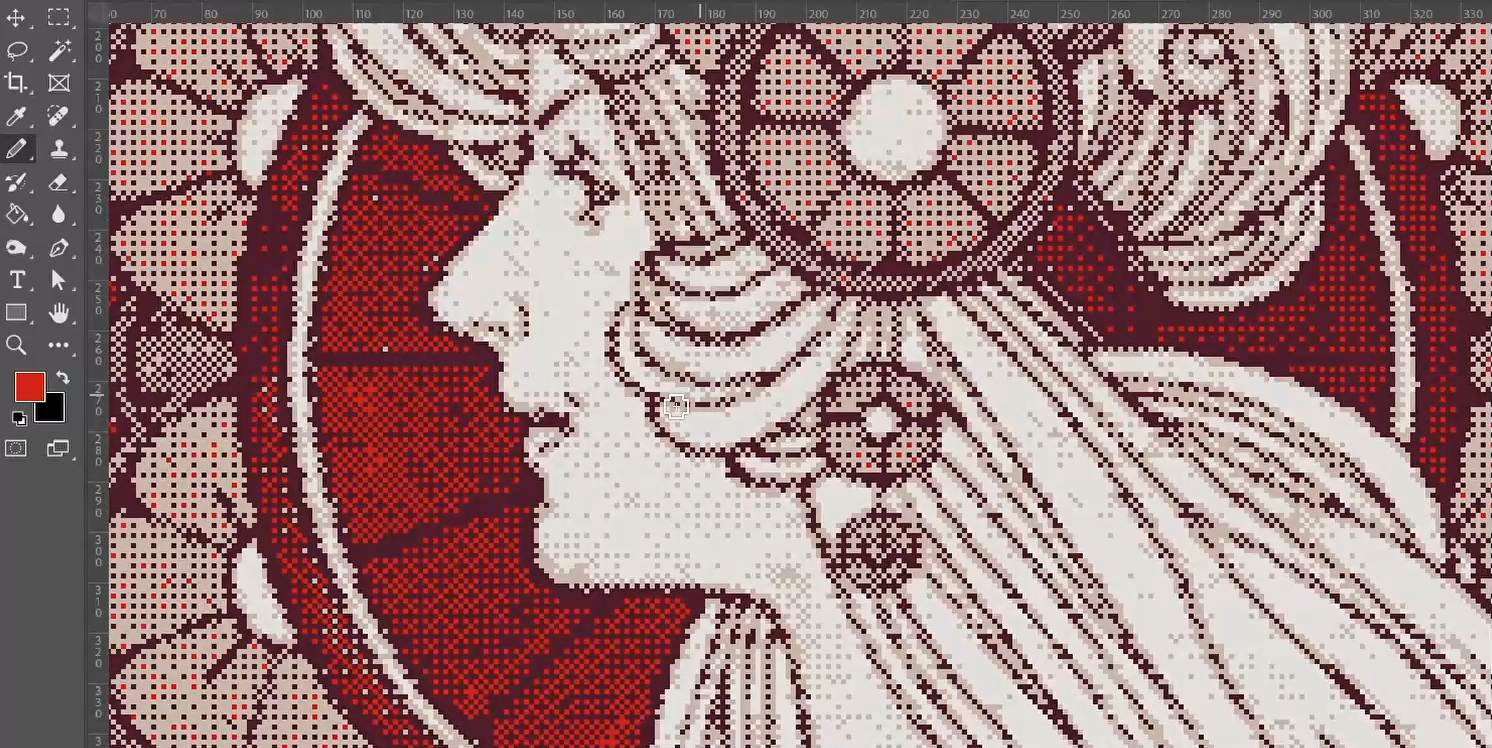
- Save your file when you are satisfied with the design.
4. Finish your Design:
Now you can go back to your template file, and select a color for the Background and Trims if you haven’t done it before. Please keep in mind that these colors should be also contained in the 4 colors in total.
Once that is done it’s time to index and save your template. Follow the steps indicated in Step 3: Save design in the right format to accomplish that part of the process.
Method 2: Design from scratch using pixel-by-pixel drawing
In this section, you will learn how to create a design from scratch on a Knitwise template.
Note:
- You can download our Pixel Brushes HERE to get better design results!
- Please consider reading Step 1: Understand design best practices to avoid errors in your design file.
Here's a video tutorial to follow. The tutorial uses the sweater template as an example.
You can also follow step by step below:
1. Create a layer for your design:
Above the Background color layer, create a new layer to draw your design. Ensure that the Trim layer and Factory Interface layer are at the top.
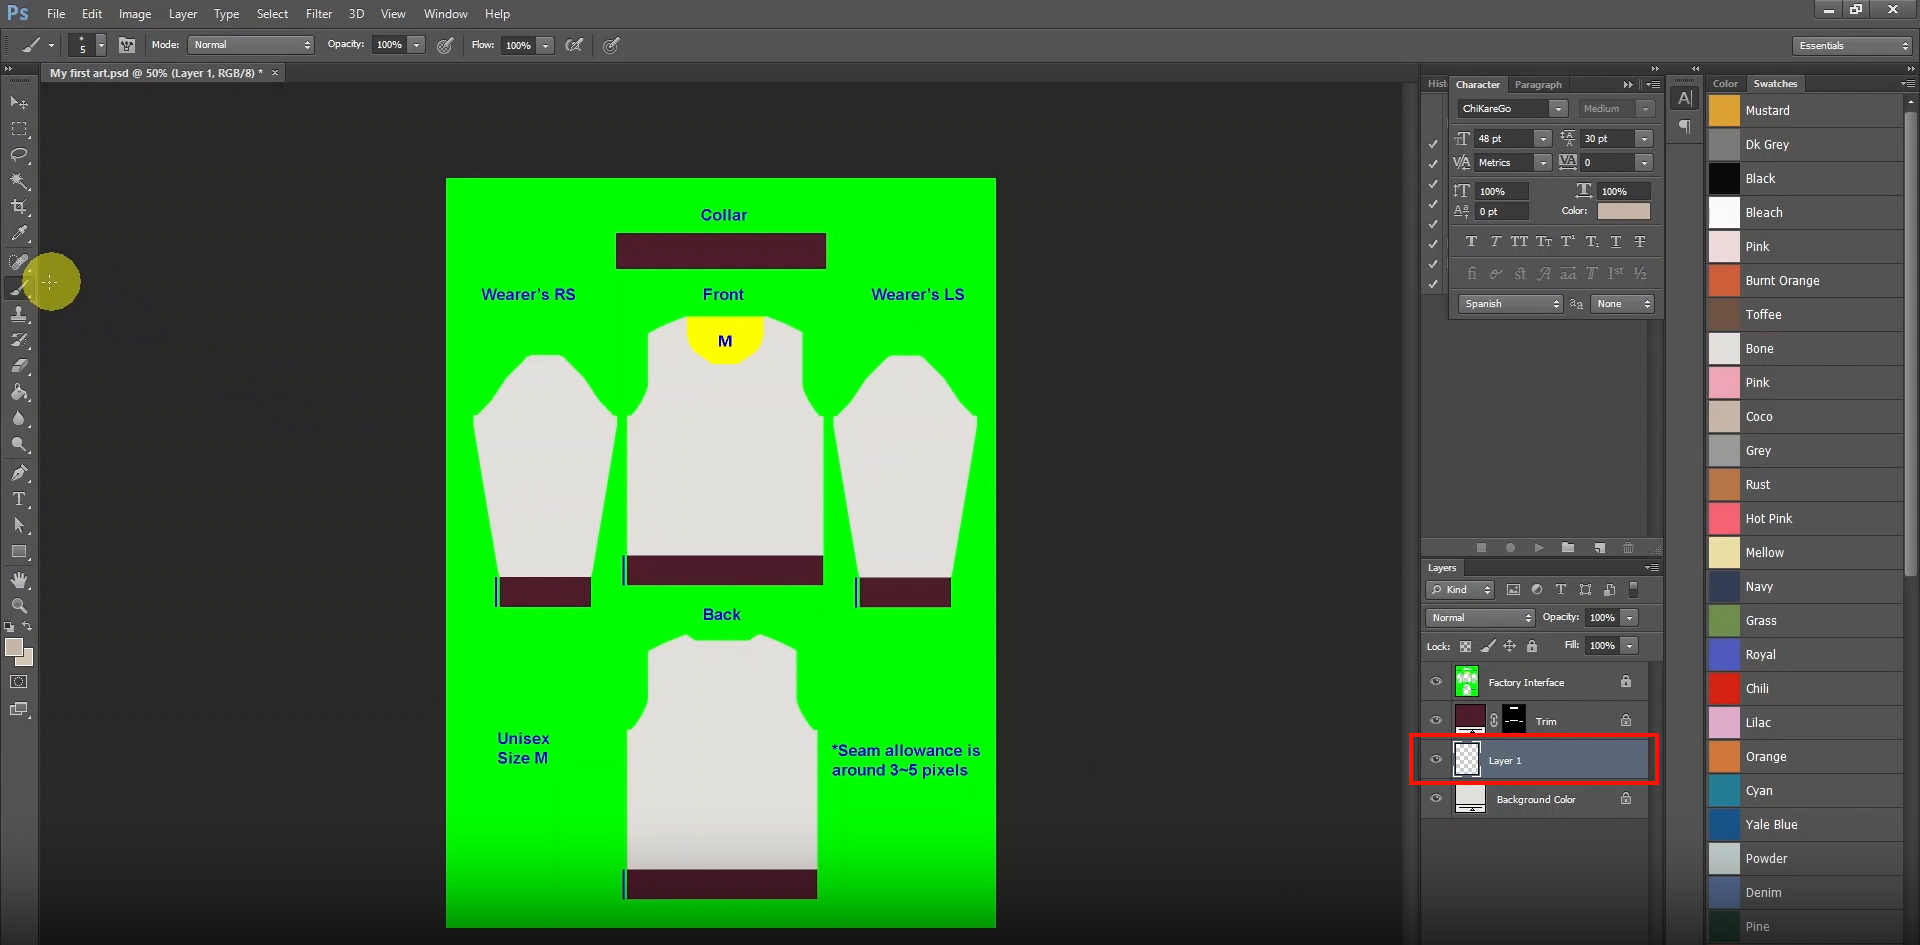
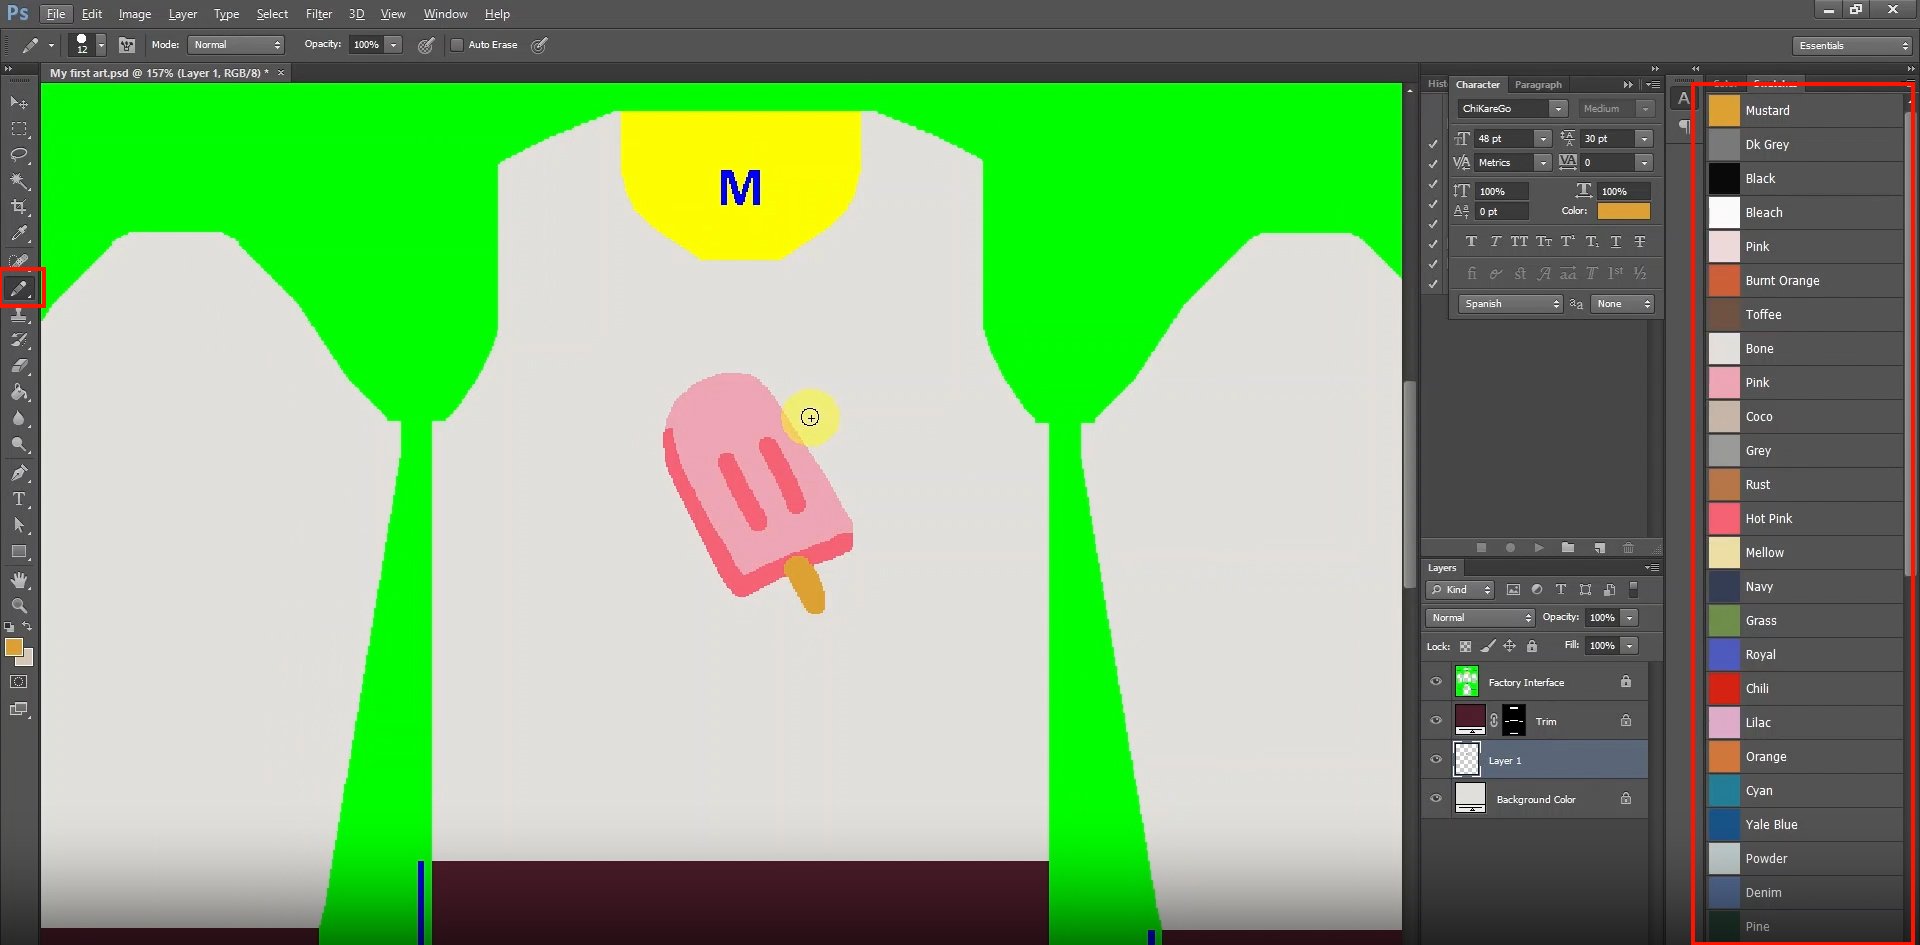
2. Draw your design:
Utilize the Pencil tool for creating your design. Avoid using the brush tool, as it's important to achieve sharp edges instead of smoothness. Use the Knitwise color palette to add color to your design. Remember to select a total of 4 colors, taking into account the background color as well.
3. Color the Trim layer:
Select a color from our Knitwise palette for the Trim layer. This chosen color should be included as one of the 4 total colors.
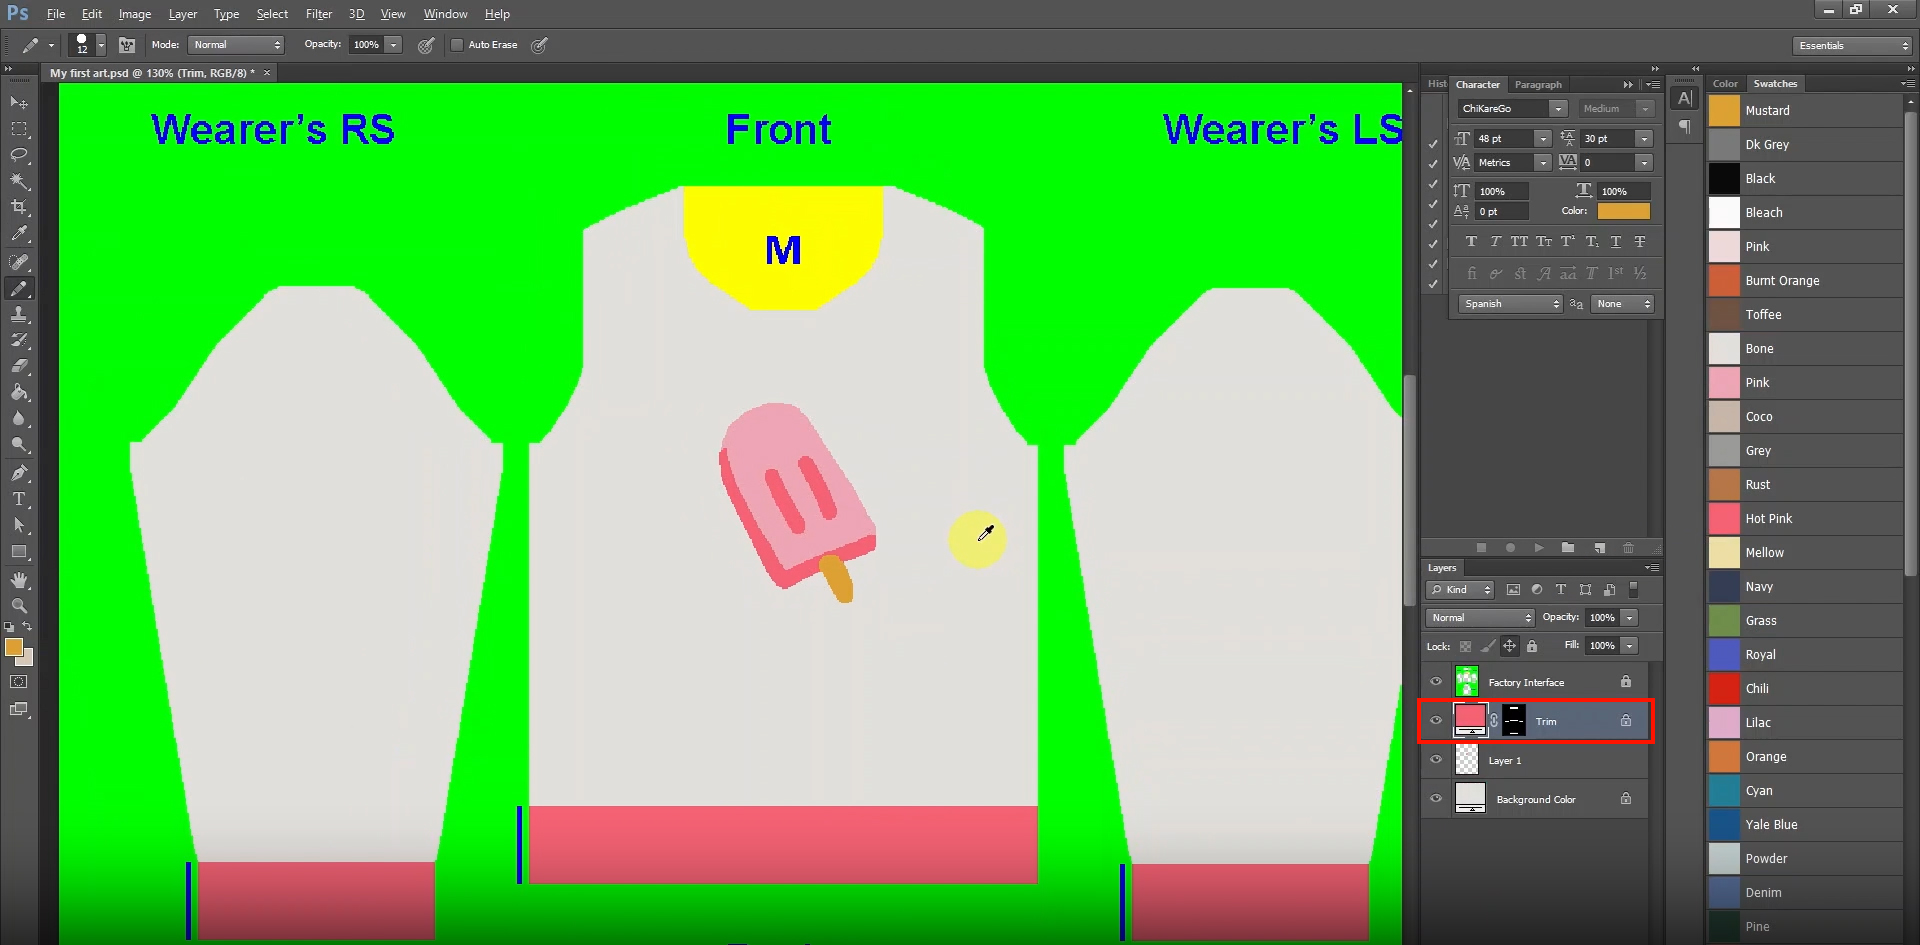
Once that is done it’s time to index and save your template. Follow the steps indicated in Step 3: Save design in the right format to accomplish that part of the process.